Pages

Sunday, June 23, 2013

July 4th Projects

Besides Christmas, I think July 4th is one of my favorite holidays to decorate for. I crafted several things last year, and I made a few more this year. As you know, most of my crafts are easy and don't cost a lot of money to make, so I hope you give one (or more) of these a try!

First up is the Mini Wreath, which was inspired by this post. It just so happened I had a small foam wreath, linen fabric, patriotic fabric and some red burlap in my stash, so this project was easy for me to make.


I used pins to fasten the whole thing together - the stars/buttons are attached to the wreath with pearl pins.

My next project was this Patriotic Clothespin wreath for our front door:


Caity at DIY Navy Momma shared this tutorial. This was easy and fun to make, and I actually made two of them, one for me and one for a friend. Caity had the great idea of cutting a wire wreath form to get two wreaths out of one - so brilliant!

I had all of the spray paint on hand, so all I had to buy was the wreath form and the clothespins (pkg. of 100 at Wal-mart is less than $2). The only thing I did differently from her tutorial was to use contact paper I had in my stash to make the stars. I found it worked really well, as they stuck on the clothespin and were easy to remove (I have an old seam ripper that I use for craft projects - it worked great at removing the stars while they were still wet with paint!)

I saw this post by Misty at Creative Itch, but I did not want to go to the store to buy doilies. I went through my stash of scrapbook paper and came up with this:


I used my decorative-cut scissors and a hole punch and I think it turned out really cute! I had some red and white bakers twine that was perfect to string it on. 

Finally, I loved what Angie made over at The Country Chic Cottage, but I was lazy and didn't want to make fabric yo-yos. After searching through my craft supplies, here is what I made instead:


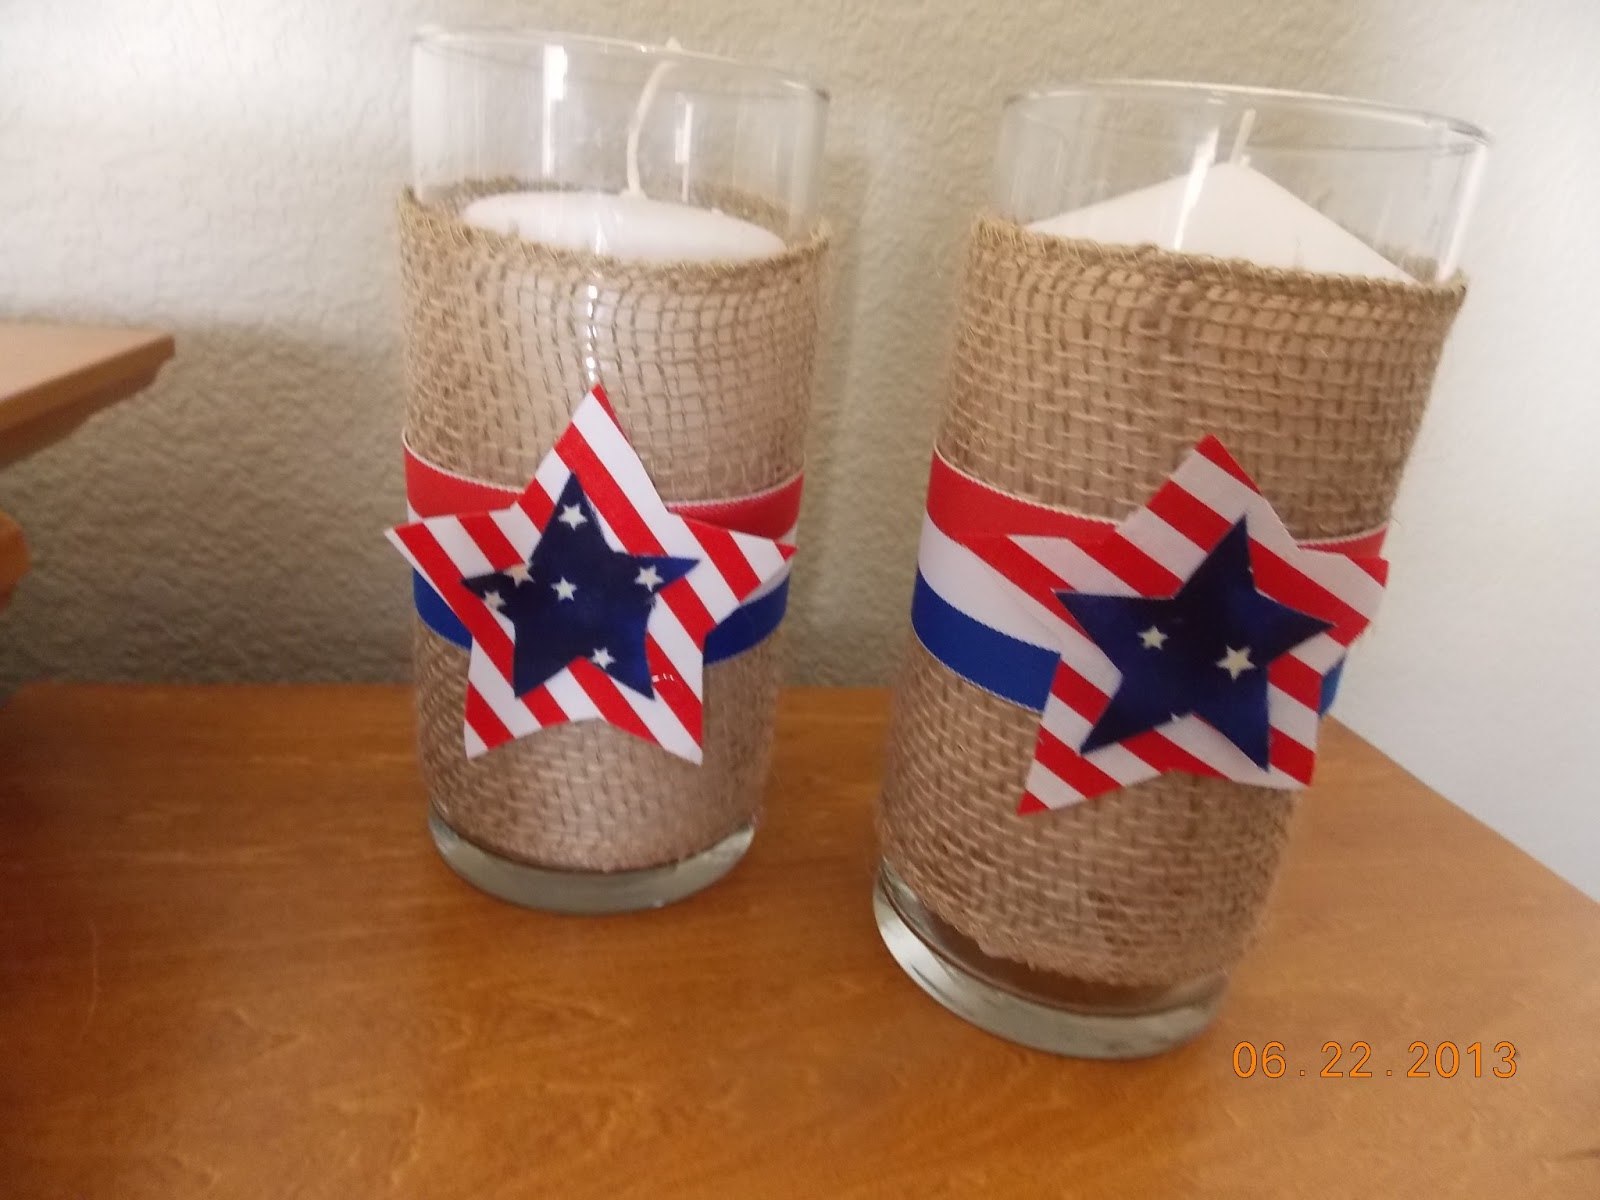
I had the burlap ribbon and red/white/blue ribbon in my stash. I hot-glued them onto the candle holder, then cut out some stars and hot glued them on as well. Easy peasy!

Happy Crafting Everyone!


Linked up to:


The 36th Avenue


Monday, June 10, 2013

Easy Summer Project to Brighten Up your Deck or Patio

Want to make a quick, easy project that will (literally) brighten up your deck or patio? Try these easy solar lights!


All you need are the following:

Bottles/jars of your choosing (mine happened to be empty Starbucks bottles)
Solar lights
Colored stones (I bought mine at Dollar Tree, it took about 6 bags to fill 4 bottles)
E6000 glue

Make sure that you get the correct size of solar light that will fit into the top of your jar or bottle. Measure the opening of your jar/bottle and then measure the solar light while at the store to make sure it will fit. (I always keep a small measuring tape in my purse, it sure comes in handy!)

Here are some other ones I made using mason jars. I had to get bigger solar lights to fit the jar:


Remove the labels off your jar/bottle (if needed), then fill it almost to the top with your colored stones. Remove the part of the solar light that sticks into the ground, you won't need it (still trying to come up with a craft for those!)  Check to make sure the light will fit securely onto the jar/bottle. If you need to, remove some of the stones.

Next, apply some E6000 glue to the rim of your jar/bottle then stick your solar light on. That's it! Told ya it was quick and easy :)  Now go put it outside in the sun and wait for the magic to happen!

You could decorate these up by adding some ribbon or twine around the neck of the jar/bottle. I would love to get my hands on some of those Anniversary Blue Mason Jars, I think they would be so great for this project.

BTW, I know my glue gun is shown in the first picture, but I found that the E6000 glue held much better. I always buy it at Wal-Mart, it is much cheaper there than at a craft store. Also, here is a tip for you so that the plastic top of the E6000 tube doesn't stick to the tube - apply some Vaseline after every use and the plastic top will come right off!

Let me know if you make some, I would love to see them!


Linking up to these great parties: